Yum! If you love the decadent flavor combination of rich caramel, toasted nuts, and smooth milk chocolate but don’t want to spend hours making traditional candy from scratch, this shortcut recipe is a total game-changer.
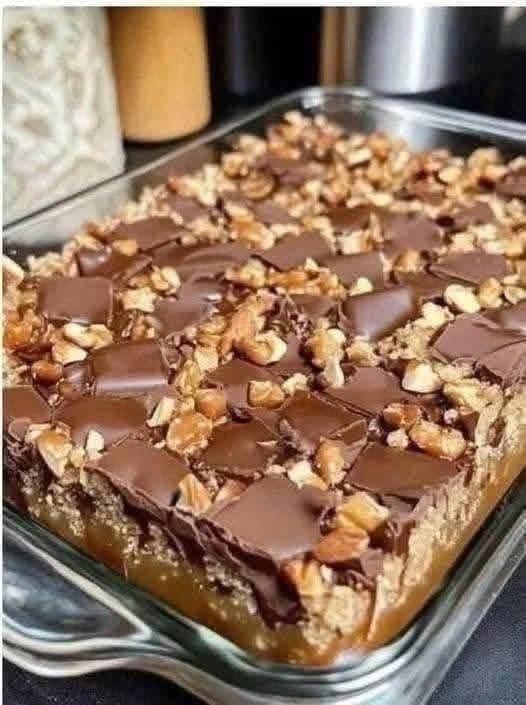
By using a clever base shortcut, you get a buttery, chewable crust that perfectly supports a thick, molten layer of caramel, crisp pecans, and melted chocolate squares—exactly like the irresistible dessert tray shown in image_14.png.
Ingredients
The Shortcut Crust Base: 1 box (15.25 oz) yellow cake mix (or vanilla cake mix)
The Grains & Fat: 1/2 cup (1 stick) unsalted butter (melted), 1 cup old-fashioned rolled oats
The Molten Caramel Layer: 1 jar (14 oz) thick caramel topping or ice cream sundae caramel (thick varieties work best)
The Crunchy Topping: 1 cup chopped pecans or walnuts
The Chocolate Layer: 2 cups milk chocolate chips (or 3–4 standard chocolate candy bars, broken into squares as seen in image_14.png)
Instructions
Step 1: Prep and Preheat
Preheat your oven to 350°F (175°C). Lightly grease a 9×13-inch glass baking dish with non-stick cooking spray or line it with parchment paper for easy removal.
Step 2: Mix the Crust
In a large bowl, combine the dry yellow cake mix and the rolled oats. Pour in the melted butter and stir with a fork or spatula until a crumbly, coarse dough forms.
Step 3: Bake the Bottom Layer
Reserve 1 cup of the crumbly mixture and set it aside for later. Press the remaining oat dough firmly and evenly into the bottom of your prepared glass dish to form a solid crust. Bake in the oven for 10 to 12 minutes, just until it is lightly set.
Step 4: Layer the Caramel and Nuts
Remove the crust from the oven. Immediately pour the thick caramel sauce evenly over the warm crust. Scatter the chopped pecans or walnuts across the caramel layer, followed by the remaining 1 cup of reserved crumble dough.
Step 5: Add the Chocolate Squares
To get the signature bakery-style look captured in image_14.png, arrange your chocolate pieces or chocolate bar squares evenly across the top of the nut and caramel layers.
Step 6: Final Bake and Set
Return the dish to the oven and bake for an additional 12 to 15 minutes. The caramel will bubble up beautifully around the edges, and the chocolate squares will soften and begin to melt down into the cracks, mirroring the exact texture seen in image_14.png.
Step 7: Cool Completely Before Slicing
This is the hardest part: let the bars cool completely at room temperature for at least 1 hour, then transfer the dish to the refrigerator for another hour before slicing. Because the caramel layer is so rich and gooey, it needs time to cool down and firmly set so you can slice them into clean, perfect dessert squares.