Cherry Pie Bars Recipe
Introduction
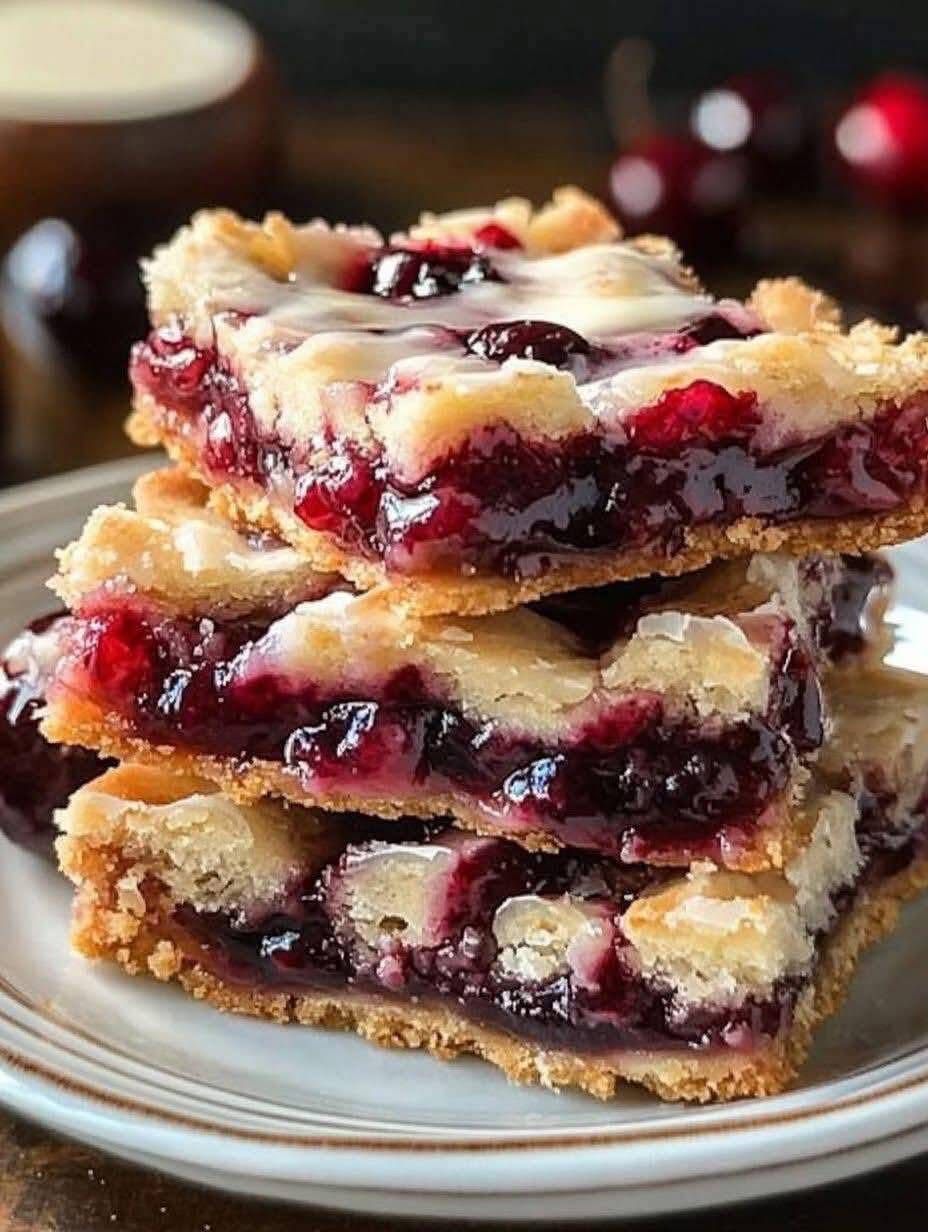
Cherry Pie Bars are a delightful twist on the classic cherry pie, offering the same luscious cherry filling and buttery crust but in an easy-to-serve bar form. These bars combine the richness of a tender cake-like base, a sweet-tart cherry filling, and a buttery crumb topping. Perfect for parties, potlucks, or family gatherings, they are easier to make and serve than traditional pie while still carrying the same nostalgic flavor.
History of Cherry Pie Bars
Cherries have been celebrated for centuries, originating in Asia and spreading across Europe and America. Cherry pies have long been a symbol of American desserts, famously associated with George Washington’s cherry tree legend. As baking evolved in the 20th century, home bakers started adapting traditional pies into bar recipes — easier to bake in bulk and simpler to slice and share. Cherry Pie Bars became a beloved addition to church suppers, holiday spreads, and school bake sales, combining tradition with convenience.
Ingredients
For the crust and topping:
- 1 cup unsalted butter, softened
- 2 cups granulated sugar
- 4 large eggs
- 1 teaspoon vanilla extract
- 1 teaspoon almond extract (optional, enhances cherry flavor)
- 3 cups all-purpose flour
- 1 teaspoon salt
For the filling:
- 1 can (21 ounces) cherry pie filling (or homemade cherry filling)
For the glaze:
- 1 cup powdered sugar
- 2 tablespoons milk (or cream)
- ½ teaspoon vanilla or almond extract
Instructions and Methods
Step 1: Prepare the crust/batter
In a large bowl, cream together butter and sugar until light and fluffy. Add eggs, one at a time, mixing well after each. Stir in vanilla and almond extracts. Gradually add flour and salt until well combined.
Step 2: Assemble the base
Spread about two-thirds of the batter evenly into a greased 15×10-inch baking pan (a jelly-roll pan works best).
Step 3: Add cherry filling
Spread the cherry pie filling evenly over the batter.
Step 4: Add topping
Drop spoonfuls of the remaining batter over the cherries. It doesn’t need to cover completely — the cherries should peek through for a rustic look.
Step 5: Bake
Bake at 350°F (175°C) for 30–35 minutes, or until golden and set. Allow to cool completely.
Step 6: Glaze
Whisk powdered sugar, milk, and extract together until smooth. Drizzle over cooled bars before cutting into squares.
Benefits of Cherry Pie Bars
- Convenient: Easier to bake and share than traditional pies.
- Flavorful: Combines the sweet-tart taste of cherries with a buttery crust.
- Versatile: Works with other fruit fillings like blueberry, apple, or peach.
- Perfect for gatherings: Makes a large batch to serve many people.
- Comforting: Evokes the nostalgia of homemade cherry pie in a modern, portable form.
Formation of the Dish
The dish is formed by layering a soft, buttery base, a fruity cherry filling, and a light batter topping. As it bakes, the layers fuse into a tender bar with a perfect balance of sweetness and tartness, finished with a drizzle of glaze for added sweetness and shine.
Lovers of Cherry Pie Bars
Cherry Pie Bars are adored by fans of traditional fruit desserts, potluck enthusiasts, and anyone who loves handheld sweets. They are a favorite among families, kids who enjoy fruity treats, and adults who appreciate classic desserts with a modern twist.
Conclusion
Cherry Pie Bars are a wonderful way to enjoy the classic flavor of cherry pie in a convenient, crowd-friendly form. With their soft, buttery crust, rich cherry filling, and sweet glaze, they strike a perfect balance of flavor and texture. Easy to prepare yet elegant enough for celebrations, they remain a beloved recipe for gatherings, holidays, or just an everyday indulgence.