How to Clean Tile Grout – The Ultimate “Recipe” for Sparkling Floors and Walls
Introduction
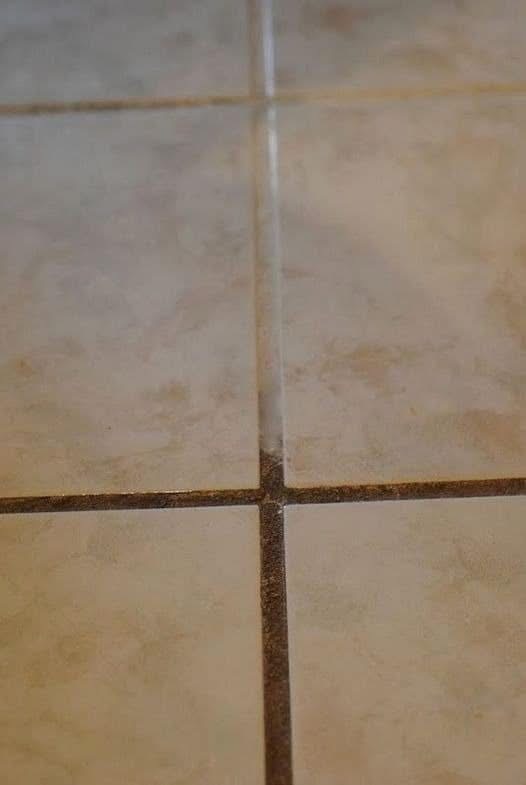
Tile grout, that thin mortar between your tiles, is like the grout’s “smile lines” — it frames the tile and makes it shine. Unfortunately, grout has a bad habit of catching dirt, mold, and stains, making it look tired and aged.
Over time, without proper care, grout can go from pristine white to dingy gray or even black. Luckily, cleaning grout isn’t rocket science — it’s a mix of the right “ingredients” (cleaners) and the right “cooking method” (scrubbing). This guide will walk you through a thorough, effective, and safe way to clean tile grout so your surfaces look brand new.
Ingredients (Cleaning Materials & Tools)
Think of these as the items in your cleaning “pantry”:
- 1 cup baking soda (natural abrasive and deodorizer)
- 1/4 cup hydrogen peroxide (3%) (disinfectant & stain lifter)
- 1–2 teaspoons liquid dish soap (grease cutter)
- Warm water (for rinsing)
- Small mixing bowl (your “prep bowl”)
- Grout brush or old toothbrush (your “whisk”)
- Microfiber cloths or cleaning rags (your “serving plates”)
- Spray bottle (optional, for easy application)
- Rubber gloves (protect your hands)
Instructions
- Mix the Cleaning Paste
- In the mixing bowl, combine baking soda and hydrogen peroxide. Add dish soap and stir until it forms a smooth paste.
- Apply to the Grout
- Spread the paste directly onto the grout lines. A squeeze bottle or spoon works well for this.
- Let It Sit
- Allow the mixture to rest for 5–10 minutes. This gives the ingredients time to lift stains and break down grime.
- Scrub Gently but Firmly
- Use the grout brush or toothbrush to scrub along the lines in small, circular motions. Focus on heavily soiled spots.
- Rinse Thoroughly
- Use warm water and a microfiber cloth to wipe away the cleaning paste and loosened dirt.
- Dry the Surface
- Buff the tiles and grout with a dry cloth to prevent new water marks or mold growth.
Methods (Variations for Special Situations)
- Deep Mold Removal: Add a splash of white vinegar to the mixture (but do NOT use vinegar on natural stone tiles — it can etch them).
- Quick Refresh: Mix equal parts warm water and vinegar in a spray bottle, spray on grout, wipe after 5 minutes.
- Steam Cleaning: For a chemical-free method, use a handheld steam cleaner to blast dirt from grout pores.
History of Grout Cleaning
Grout as we know it has been around since ancient Roman mosaics, and tile floors were a sign of wealth and beauty. Back then, grout was cleaned with vinegar, lime, and natural abrasives like crushed shells. In modern times, chemical cleaners became common, but natural mixtures (like baking soda and peroxide) have made a comeback because they’re safe, cheap, and eco-friendly.
Benefits
- Restores appearance — makes your tiles look new.
- Hygienic — removes mold, mildew, and bacteria.
- Prevents damage — clean grout lasts longer and stays sealed.
- Budget-friendly — costs far less than professional cleaning.
- Eco-friendly — uses natural, non-toxic ingredients.
Formation (How This Method Works)
- Baking Soda: Abrasive, scrubs without scratching.
- Hydrogen Peroxide: Penetrates pores, lifts stains, kills germs.
- Dish Soap: Cuts grease and oily residue.
- Scrubbing Action: Dislodges dirt trapped deep inside grout lines.
Conclusion
Clean grout transforms an entire room. With the right mix of science, elbow grease, and patience, your grout can go from grimy to gleaming without hiring professionals or using harsh chemicals. Regular upkeep (monthly light cleaning) will make deep cleans much easier.
For the Grout Lovers
If you’re the type who loves seeing that before-and-after magic, grout cleaning can be strangely satisfying. The transformation is instant, the results are visible, and the process is oddly therapeutic. It’s the DIY equivalent of giving your home a fresh haircut.